Custom Mechanical Keyboards: The Ultimate Guide
Here are the parts you’ll need to get started making your own mechanical keyboard custom creation

Here are the parts you’ll need to get started making your own mechanical keyboard custom creation
Creating a custom keyboard is no small task, but there may be no more rewarding way to immerse yourself in the hobby. The best way to get started is by learning what each piece of the keyboard is for and how they fit together, beyond the familiar mechanical keyboard switches and keycaps.
This guide will introduce you to the basic components you’ll need to gather to make a custom mechanical keyboard. Just be aware: By the time you’ve finished assembling all the parts for your first dream keyboard, you’ll probably already have a shopping list put together for your next one.
Did You Know? The HHKB Snow Collection brings a new, sophisticated design to one of the most-beloved keyboard lines in computer history.
Want to spend less time worrying about compatibility and more time picking out the perfect look and feel for your keyboard? Kicking off your mechanical keyboard custom creation with a pre-made kit will give you everything you need to get started minus the switches and keycaps.

This tenkeyless keyboard kit is minimalist and low profile at first glance, but its per-key RGB lighting and underlit case bring it to vibrant life. Get it in black or space grey for $150.
Another tenkeyless option, the NK87 has a much more standout look at first blush thanks to its injection-molded plastic frame that’s available in a variety of colors. Options start at $135.
This 60% keyboard kit’s Bluetooth/wired option is available for just $89, making it a very accessible inroad to wireless typing. It also includes a split spacebar module if you prefer to get more use out of the biggest key on your board.
Read more about mechanical keyboard kits in our guide, “The 5 Best DIY Custom Mechanical Keyboard Kits for Beginners.”
Build on the best
The case is the foundation for custom keyboards, with different designs and materials lending themselves to different kinds of typing experiences. Here’s how to find the perfect case before you get started.

If you’re looking for a durable case that will likely outlive the rest of your setup, this case fits the bill. It comes in five color options and even features an acrylic side strip for RGB lighting, all for $125.
Made of black walnut, this compact case is a classy way to house your next build. It isn’t cheap, but its price tag of $94 won’t blow out your budget either.
Read more about keyboard cases in our guide, “Custom Mechanical Keyboard Cases: What To Look For.”
Did You Know? Topre switches are a favorite among many enthusiasts, but you won’t find them on most custom mechanical keyboard builds. Here’s why.
Get a headstart on your build
Lock down your sound
Resting atop the PCB in most mid-to-high-end custom keyboards is a plate, a piece of stiff, protective material with cutouts for each of the switches on your board. It may not sound like much, but your choice of plate can have a big impact on your typing experience.
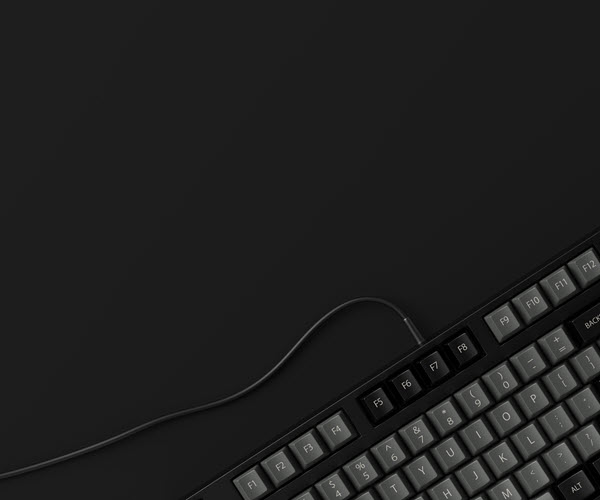
Metal plates tend to be rigid and lightweight, making a keyboard feel stiffer to type on and also lending a higher-pitched “ping” to the sound of keystrokes. This makes them unpopular with some enthusiasts, but they are both durable and aesthetically pleasing.
FR4 plates are made from the same base material used for many PCBs. When used to create a plate, FR4 is well suited to delivering a more quiet, light, and flexible keyboard feel.
Polycarbonate plates are made with a type of soft and light plastic. This less-dense material lends a lower-pitched character to the sound of each keystroke.
Find out more about keyboard plates in “Mechanical Keyboard Plates: How to Choose the Right Material for Your Next Build.”
Build on the best
Consistency is key
Keyboard stabilizers prevent wider keys, such as the spacebar and shift keys, from wobbling up and down during operation. They create a consistent feel and motion regardless of where you press down on each key. Stabilizers are simple in concept and operation, but if you want each key on your board to feel great, you’ll need to find the right set.
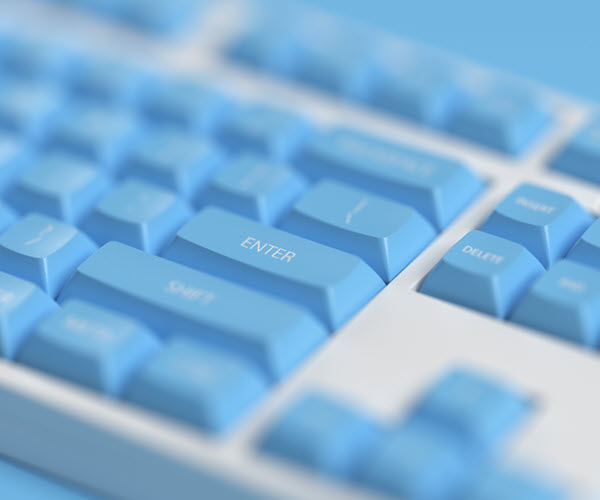
Screw-in stabilizers are secured directly to a keyboard’s PCB with its eponymous screw. This solid connection minimizes rattle and unwanted movement.
Clip-in stabilizers are also mounted right on the PCB, but they use clips instead of screws to attach. They’re easier to install and replace, but they also tend to be noisier.
Costar stabilizers are hooks and wires that travel the length of a keycap, rather than the movable stem and housing design found in Cherry stabilizers.
Read more about keyboard stabilizers in our guide, “Mechanical Keyboard Stabilizers: Everything You Need to Know.”
Lock down your sound
Make your board a smooth operator
Even the smallest mechanical keyboard is made of dozens of individual parts that move against one another. If you want to augment the sound and feel of your board while ensuring its effective operation for years to come, it’s time to invest some time and money into lubricating your custom mechanical keyboard.
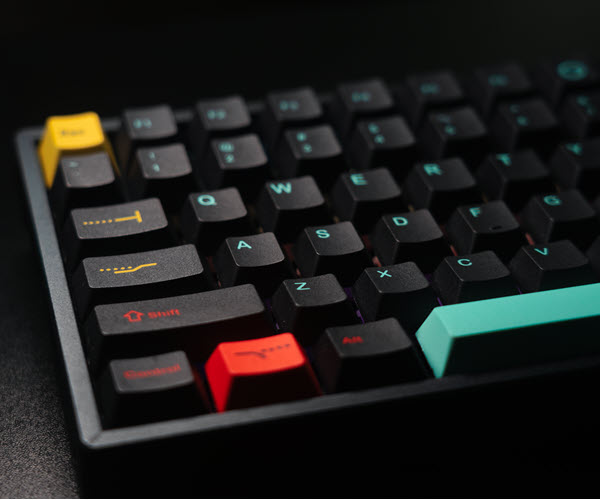
TriboSys 3203 is a great pick if you plan to lubricate a good number of tactile switches, since its medium-thin consistency makes it less likely to accidentally “de-bump” them.
XHT-BDZ G.5 is too thick to use on internal switch components, but that high viscosity makes it a great match for even the scratchiest stabilizers.
Read more about keyboard lubes in our guide, “The 3 Best Mechanical Keyboard Lubes on the Market.”
Consistency is key